
Here is the situation. Giants are advancing from the north towards some unguarded and unfortified towns. The local lord has decided to meet them as they advance, before they reach the towns. If nothing else, he hopes to delay them long enough for many civilians to move south, or better yet, reinforcements to arrive.

The Advesaries.
4 Fire Giant Warriors AD 12*10, AR 4, Hits 5
4 Hill Giant Warriors, AD 10*10, AR4, Hits 4
Hill Giant Chieftain, AD 12*10, AR 4, Hits 5
Humans...

 30 Hvy infantry split into 2 companies of 15 each, AD 6, AR 6, Hits 1 (armed with spears and large shield. Can form shield wall(-1AR) and second rank can attack.
 18 Human Medium Archers, split into 2 units of 9 each. AD 6*6, AR 7, Hits 1
10 Medium cavalry, AD 6, AR 6, Hits 2
There was also a company of dwarves which joined the fight.
18 Dwarves, AD 6, AR 6, Hits 1 - They get -1 AR when fighting giants!
The Battle.
Round 1.
The giants quickly close the gap between the two armies. The humans decide to hold their ground.All of the human archers open up at long range. They score 6 hits, but the giants armor is tough. One giant takes two wounds.
 |
| "Brace yourselves! Here they come!" |
Round 2
This time the humans move first. They decide to hold their ground again.The giants move even closer. Now they are within close range to the archers. They score another 6 hits, but the giant's armor manages to deflect four of the hits. Still, with 2 more hits, one hill giant falls! First blood to the human army
Round 3
The humans go first again. |
| The battle is joined! 1 giant dead to arrows, another to archer's swords! |
The giants move in and engage across the line.
One giant strikes at the archers on the left flank. He flails about killing 2 of them, but they strike back with a ferocious attack, and the giant goes down. They scored 6 hits, but the giant only managed to block 2!
Far to the right, the giants strike the dwarves. 2 dwarves fall, but they manage to injure the giant slightly
 |
| First dwarven casualties |
 |
| Fighting on the right. |
Round 4
Humans go first again!The infantry unit to the far right wheels and prepares to charge the giant which is tangling with the archers.
The cavalry continue to fight the two giants. The giants get 4 hits, and the riders only save one. They smash the wounded rider, and send a second one flying.
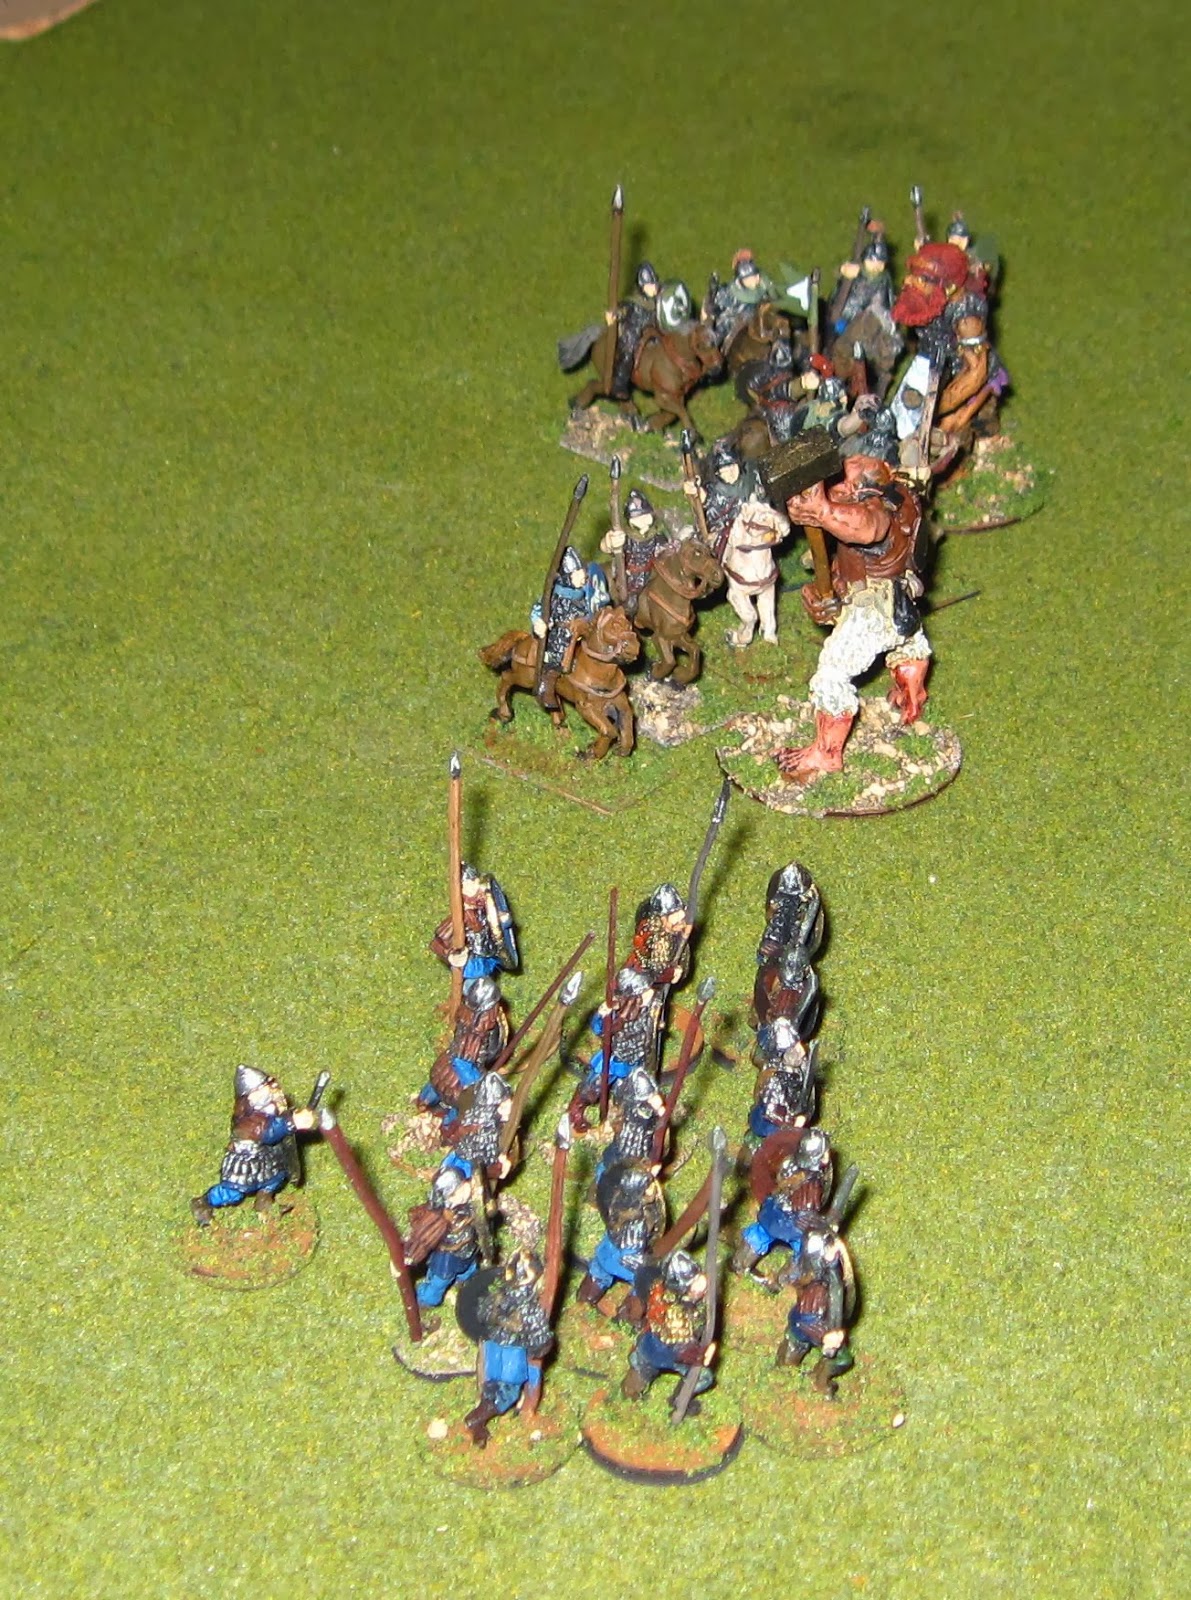 |
| Spearmen prepare to charge the flank of the giant chieftain. |
In the center, 2 giants engage the human spearmen. The humans manage to get 6 hits, but the giants save all but one. In return they deal 4 blows, but the human shield wall manages to hold, though one soldier was smashed.
 |
| The center |
Next to them one giant engages the archers on the right. He kills 2 men, but doesn't get hurt.
 |
| The giant chieftain alone faces the spearmen. |
The dwaves again wound a giant, and this time they manage to dodge out of the way of all attacks.
 |
| Dwarve engaged! |
Round 5
This round was a bloody one!
The cavalry continue to melee around the two giants. The get 6 hits, but the giant's armor deflect 5. On the other hand the giants score 4 hits with no saves! Two riders down!
The infantry on the right declare a charge, but they badly fail their initiation check, and their formation breaks up in confusion. They fall into an irregular formation, and hold their ground.
The human spearmen in the center manage to get only 3 hits, and the giants save 2 of those. In return, the giants crush another 3 spearmen.
The archers on the right continue to go toe to toe with a giant. They hit 3 times, but the giant's armor saves two of those hits. He isn't able to land a blow.
The dwarves manage to land 6 blows, all of which are deflected by the giant's armor. The giants crush 2 more dwarves!
There are a lot of morale checks here, but once more, the defenders refuse to fall back, though they are getting badly beat up!
Round 6
This round is the Giant's high water mark. Because of failing morale, it almost looks like they will win.The giants move first.
On the left, one giant breaks off from the cavalry, and rushes the spearmen in the flank before they can reform. He manages to crush three men, but they can't hurt him.
 |
| Smashing into the flank of the humans! |
In the center, the giant king smashes 5 men!, but he gets 2 wounds in return. However, this is more than the spearmen can take, and they fall back badly shaken. To their left, the archers there freak out and panic, completely routing off of the field!
On the right, the archers manage to get another wound on the giant, but they are badly shaken and fall back when they see yet another soldier fall the the gaint's blow!
The dwarves have a disastrous round. Things are looking good when they get enough blows on a fire giant to finish him off. But they in turn loose 3 more, and then they roll a 20 on their morale check, instantly routing. They start to flee, deciding that this isn't really their fight.
 |
| Defenders fleeing everywhere! |
The whole center and right of the line is now falling back before the giants, but the giants have lost so many. Will they be able to capitalize on their advances?
Round 7
This is the turning point, and the humans start to rally!The infantry on the right can't seem to rally themselves, even with the general yelling for them to return. They flee the field, and keep running. None are ever seen again!
The general then sees that it is him and the giant leader in the center. He does the brave thing and charges. Neither manages to land a significant blow.
The archers to his right manage to rally, and the dwarf leader convinces his troops that they have to help, so they too turn to face the fight.
A giant charges the archers. He strikes 3, but only one is killed by his blow. They manage to wound him again.
The giant also charges the dwarves killing 3 more without taking any damage!
Back on the left the cavalry and giant are still engaged, but there is no more bloodshed this round.
The other giant continues to engage the spearmen on their flank. 3 more are killed, and they fall back, shaken from the experience.
Round 8
The humans go first.The spearmen rally, reform their line and advance into the giant. They manage to land 5 hits, and the giant saves only twice. He is now badly hurt, but in his anger, he crushes two more men! They can't handle this, and once more fall back in disarray.
In the center the two leaders swirl back and forth. The general manages to injur the giant chiefain even more, but is also injured.
 |
| A view of the right flank |
To their right, another archer is cut down, but in one last desperate fight, they kill the giant.
 |
| Fallen by lowly archers! |
 |
| Dwarves battle with the last giant on their flank |
Round 9
The battle ends abruptly!On the left, the cavalry finally manage to land some serious blows. They get 6 hits, and the giant can only block 2. With only 2 hits left, he falls! He only deals one more hit to the cavalry before falling, but they manage to save against that one.
 |
| The dead giants on the left |
Once more, the infantry manage to regroup and reengage the giant. They deal 6 hits, and he can only save 4, so he too is felled, though in his last blow he takes out another spearman.
The general is struck for 3 hits, but blocks 2. He is now down to only 1 hit. However, he strikes back and also hits for 3 strikes, and the giant leader blocks 2, but he was on his last hit, and it is enough to finish him off!
To the right, the dwarves and giant are engage in one final bloody melee. Two dwarves are crushed by the giants mighty blow, but they manage to land 6 hits, and the armor of the giant only blocks 3, so it too is felled.
 |
| The dead giants on the right |
Just like that, the last of the giants fall, and the defenders, tired and badly beaten release a cheer, because they know that their families are saved!
 |
| The survivors march home, victoriously! |
The lesson I got from this battle, is that points aren't enough of a gauge of an armies strength. The point values of the giants was actually more than the defenders. The dice rolls pretty well evened out over the game, so it wasn't that one side rolled better than the other. Maybe if the giants had stayed in a tighter group they could have pulled it off.
Still, it was a pretty close thing. Morale nearly ended the battle in the giants favor anyway.
The dead


