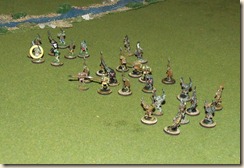
I have decided to do a small battle with these rules to give them a try. In the game the rules are based around squads of 5 men. I have tinkered with the squads a little for my game.
My game is set in Middle Earth, with a patrol of Gondorian soldiers defending against an orc raid.
Gondor Troops
1 Commander - Armor 3
1 Standard Bearer – Armor 2
10 Heavy Infantry – Armor 2
5 Heavy Arcers – Armor 2
Orc Warband
1 Leader – Armor 3
1 Musician – Armor 2
3 Sergeants – Armor 2
1 squad of 7 orc light swords – Armor 1
1 squad of 7 orc light spear – Armor 0
1 Squad of 10 orc light spear – Armor 0
Report
The battle began with both sides marching in. The Gondorian patrol needed to try to protect a small farm on their side of the board. They quickly saw the approaching warband and decided to deploy where they were so that their archers could start opening fire at long range.
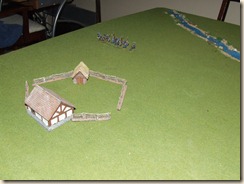 Men Entering
Initial Deployment
Round 1
Humans deploy and orcs advance.
Round 2
Round 3
Orcs continue to advance, and the human archers manage to kill one.
Round 4
Orcs continue to advance. Humans fire, but either miss or are blocked by shields.
Round 5
Orcs move closer. The human archers unleash a deadly hail at the orc swordsmen. 1 falls and another is badly wounded forcing a moral check. They succeed with a critical success, and instead run even closer.

Round 6
The human archers fire on the orc swordsmen again and another one is killed (the wounded one). Another moral check and another crit success! They charge into melee before the human infantry could form a shieldwall. Fortunately their attacks are ineffective.
Round 7
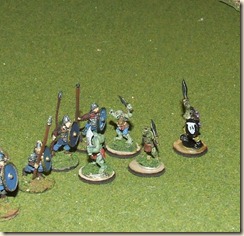
The human archers turn their attention to the larger orc spear unit in the center. They have some great shots killing 2 and wounding a third. The right side of the human line forms into a shield wall, while the others engage the orc swordsmen. They don’t kill any, but one man is lightly wounded in the melee.
The large orc spear unit continue to advance in the center, while the other unit cuts through the farm to try to attack the flank.
Round 8
The human archers fired at short range into the oncoming spear unit killing 1. The orc sword unit continues to engage the men wounding 2, and the men are unable to kill any of the orcs. The orcs in the center try to charge but fail their command roll and just move a little closer. The orcs on the right move through the farm to line up for a charge.
Round 9
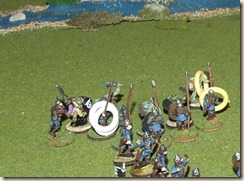 The human commander sees that the men on the left are having some problems with the small band of orc swordsmen and charges in, but doesn’t help any. However, the men are encouraged by his aid and kill one of the orcs. The others are frightened and fall back to regroup.
Round 10
The human archers fire at close range and kill 3 orcs forcing a moral check which they pass. Now both orc spear units try to charge, and both fail! The center unit is close enough that they can engage without the charge, and they do. Also, the orc leader charges in to the fight. The orcs quickly find that they can’t break the shieldwall, and 1 is killed in the attack. However, the other orcs in that unit are now thoroughly fired up and go berserk no longer having to make moral tests.
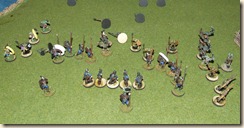
Round 11
Now everyone gets into the fight. Some of the archers are able to fire at the orc leader at point blank, but his heavier armor protects him. The orc sword unit reengages killing 1 soldier. The others engage wounding a couple of men, but they hold and another orc falls.
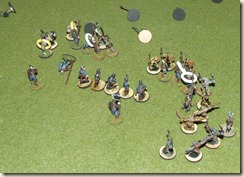
Round 12
The captain of Gondor attacks again, but stumbles and completely misses his foe! Other orcs are wounded, and the human standard bearer impales one orc with his banner! The fight starts to turn though as more men are wounded and 2 fall.
Round 13
This proves to be the critical round.
The captain of Gondor attacks, but is still stumbling about, and exposes himself to an easy shot from his enemy. Fortunately his heavy armor stops most of the blow and he is only slightly wounded. In a flurry of fighting 2 men fall and another 4 orcs. The lines for the men are waivering, but the orcs are quickly loosing their numbers.
Round 14
This round breaks the fight.
The Gondorian captain is still ineffective, but his attacks open the enemy up for one of his troops to come in to finish his foe off. The orc leader is wounded, and in a flurry of savage fighting, the superior skills and armor of the Gondorian troops finally pay off as they cut down 4 of the smaller spear unit, and another couple of beserkers.
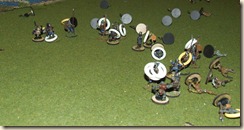
The orcs can not bring down a single man, and now their moral breaks. The handful that are left turn and flee.
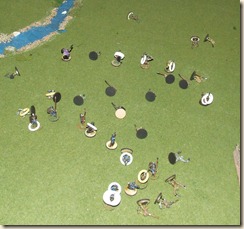
Many of the men are down, and most of those that are left are injured, so they decide not to pursue.
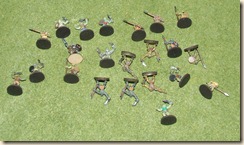 Orc Casualties
 Human Casualties
Conclusion
The game played pretty quickly. I liked the rules for Tactical Advantages - If an attack roll is bad, and the defense is good, then the defender gets a chance to strike back. The orcs took casualties quickly because of their poor armor (or no armor). However, if both units were armored, this game would bog down quickly with a lot of damage being absorbed by the armor.
The armor ratings - GAC (General Armor Class) are as follows;
GAC 0 = Unarmored.
GAC 1 = Leather or quilted armor.
GAC 2 = Chain shirt.
GAC 3 = Full chain, scale etc.
GAC 4 = Plate armor.
Combat is resloved by making an attack roll opposed by a defense roll on a d100. If you roll under your skill you succeed. Over is a failure. For any event a roll that ends in 0 or 5 is a critical. Most of the time you will get a normal success vs a normal failure. In that case usually will roll a d6 and add your weapon's impact. If you get a critical one way or the other you may add a die or two. To get an outright kill on a GAC 0, you need at least a total of 13. So for instance if you have a sword with an impact of 6, and you get a normal success, and they get a normal failure, you roll a d6 (say you get a 6) and add to your impact of 6, you get a total of 12, which is a major wound - but not a kill. If you are GAC 2, that is only a minor wound, and for GAC 3 or 4 it doesn't even hurt!
What does happen is that as you get a wound, you have to roll a number of D6s against your Physical stat (around 10). If you fail, then you pass out and are out of combat. A light wound is 1d6, serious is 2d6 and grevious is 3d6. The effects are cumulative, so if you get 3 light wounds (which is common if you have armor) you end up having to roll a 3d6 test, so you often end up being worn down. One way to speed things up is to mak a Grevious Wound an automatic failure.
The game plays pretty well as it is, but it will not work for later medieval battles very well. Still, it was very easy and played quick. You need something to keep track of injuries.

